Input parameters
Input parameters allow us to create dynamic prompts within our agents using tokens. For instance, we can use a token like {{ingredients}} in a message such as:
"Provide recipes with the following ingredients: {{ingredients}}"
That way, you can insert a list of ingredients for a recipe at runtime. When the message is displayed, the token is replaced with specific data, making the content dynamic and adaptable to various recipes
How to add input parameters?
You can always add input parameters to your existing agents, or create new agents with input parameters. Let's see how to add input parameters to an existing agent using the Agent Designer.
-
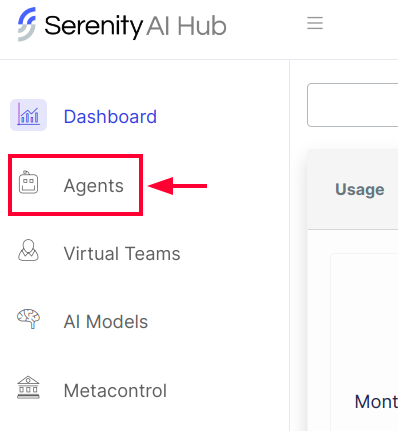
Visit the AI Hub Dashboard and click on the agents button in the sidebar.
-
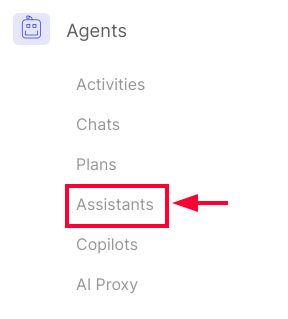
Choose the type of agent you want to edit. In this case, we are using Assistant Agents
-
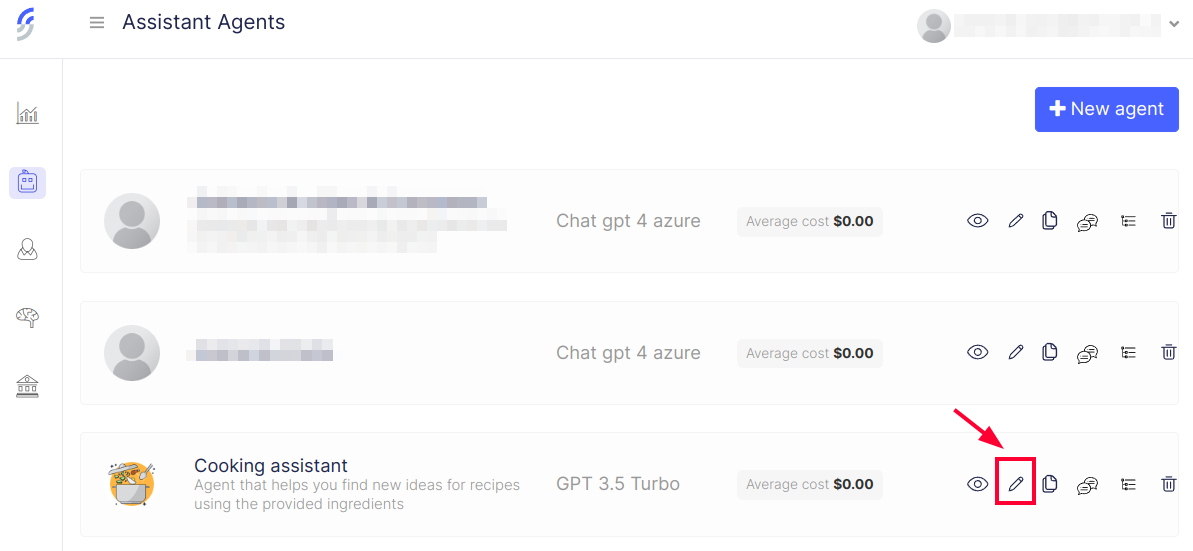
Search for the agent you want to edit, and click on the edit button in the right corner to open the agent designer.
-
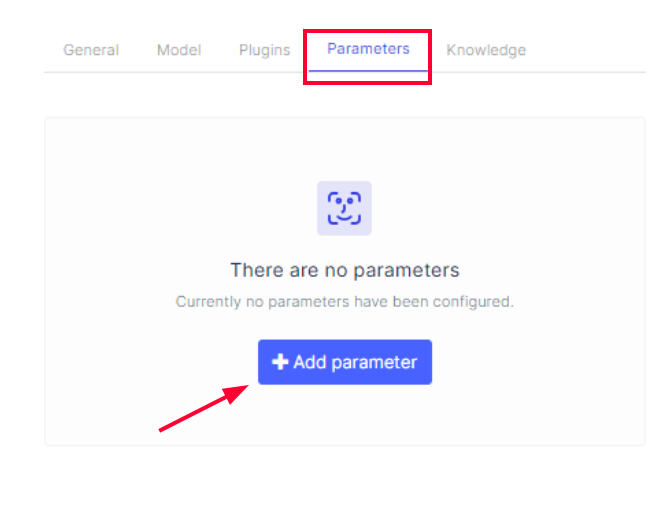
Within the agent designer, click on the input parameters tab -> "Add parameter"
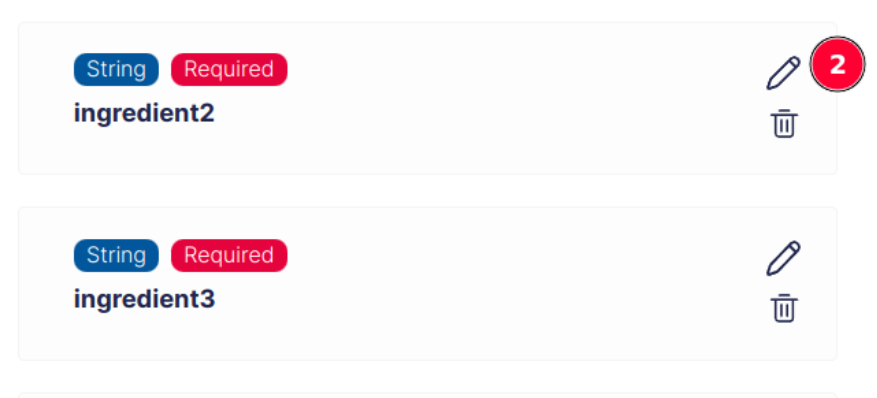
Alternatively, you can edit or delete existing parameters (2).
-
A modal will appear where we will be able to define some of its properties.
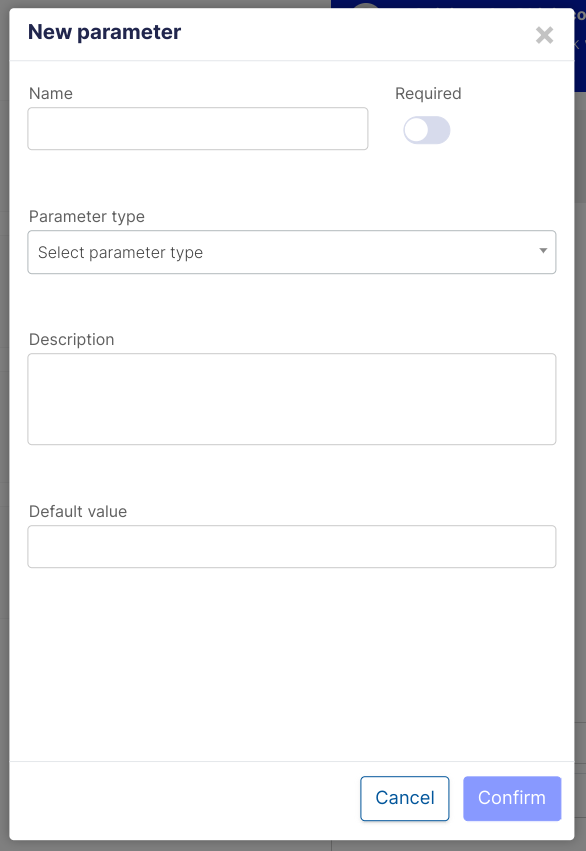
- Name: This name will be referenced later within your system definition.
- Required: Determines whether the parameter is required by the system definition when executing the agent.
- Parameter Type: specifies the type of information to be contained in the parameter.

- Description: Informative text on the implication of the parameter.
- Default value: Specifies the initial value that the parameter will have.
-
Click on confirm, and finally save changes within the agent designer.
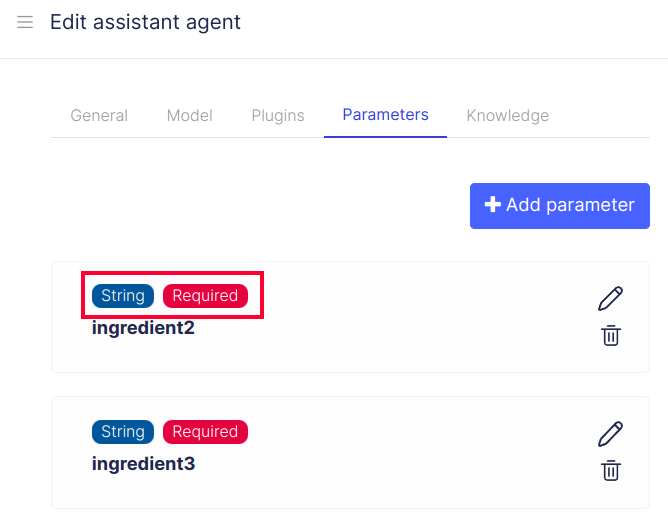
Once the parameter has been configured, confirm it and it will be displayed in the parameter tab.
From there it can be edited, deleted and even used in the preview but that does not mean that the parameter has been saved with the agent configuration. When finishing the tests with the preview and verifying that the defined parameter is impacting correctly on the agent's responses, we must save it, otherwise the parameter will be lost together with any unsaved changes.
Auto-Create parameters
You can add new Input Parameters by using liquid's sintax inside the system definition field like this:
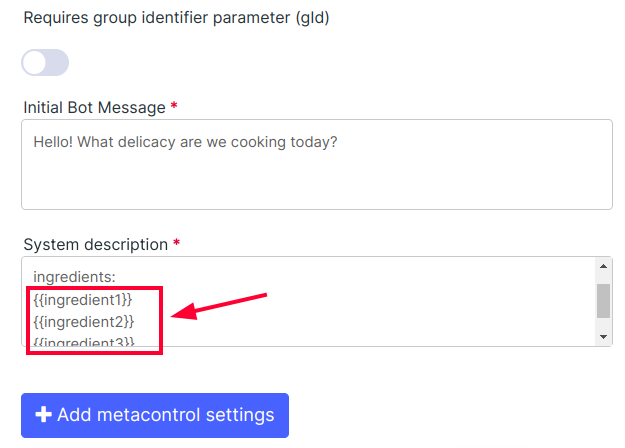
By default, the parameter will be add as a required string using an empty string as default value.
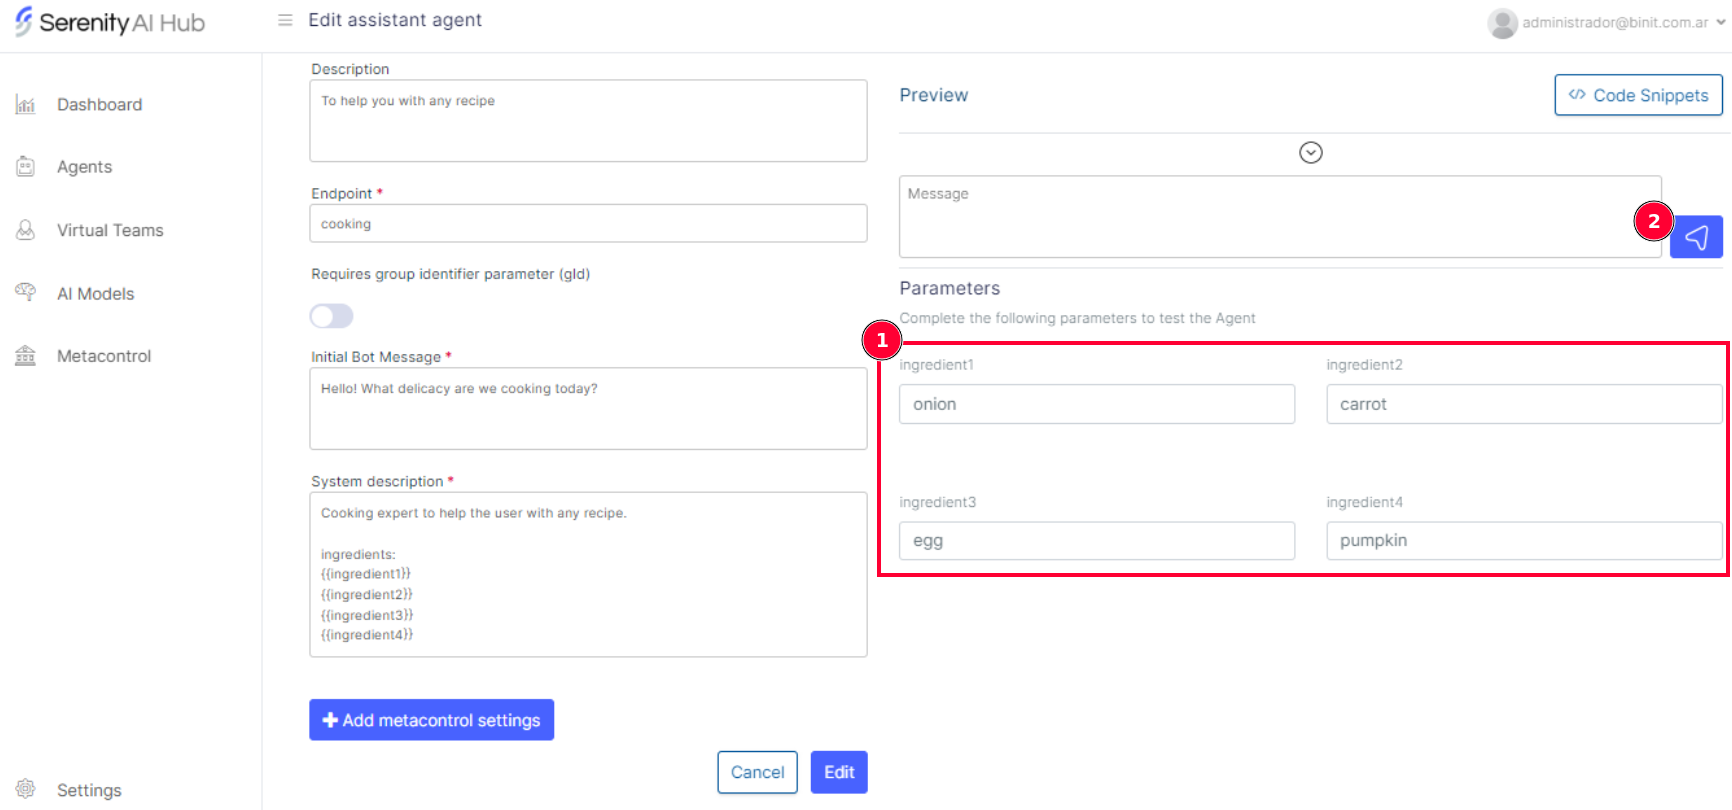
Using parameters in preview
At the same time as the parameters are added to the parameter tab, they are rendered at the bottom right section, inside the preview pane (1). Feel free to fill all the required params and click on the "Run" button (2) to test the agent's response
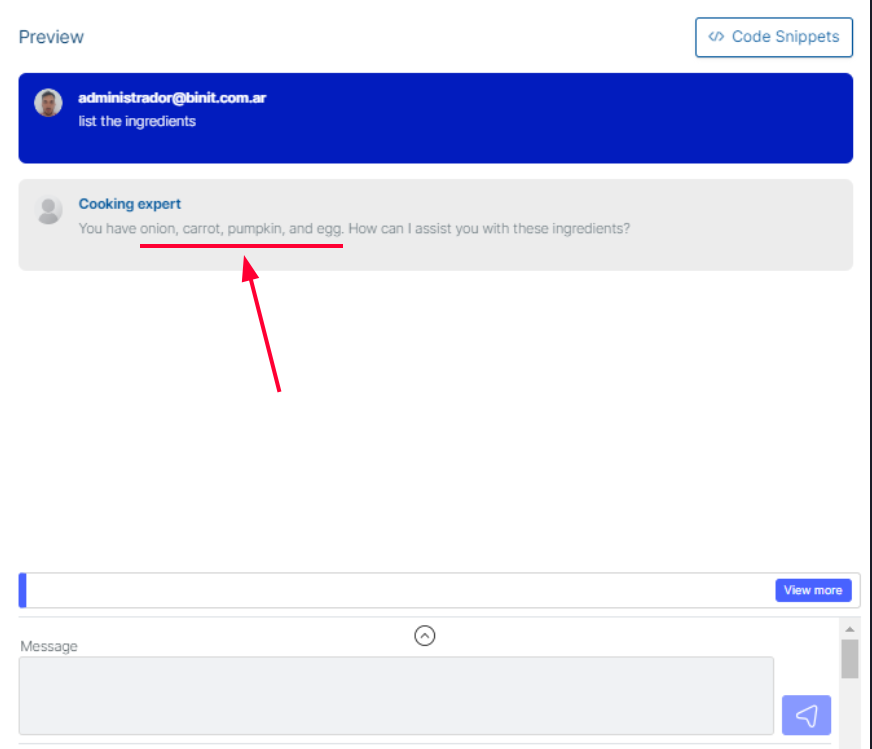
Here's an example of the agent's response using the input parameters in the preview: