Create an Agent
-
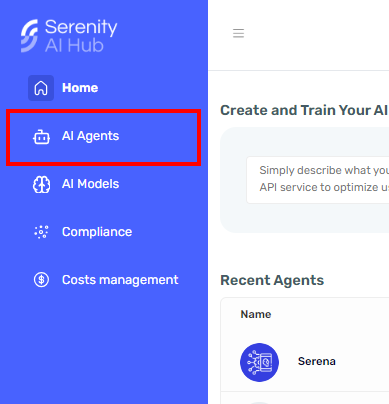
Navigate to the Serenity* AI Hub platform.
-
In the left sidebar, click on the "AI Agents" button.
-
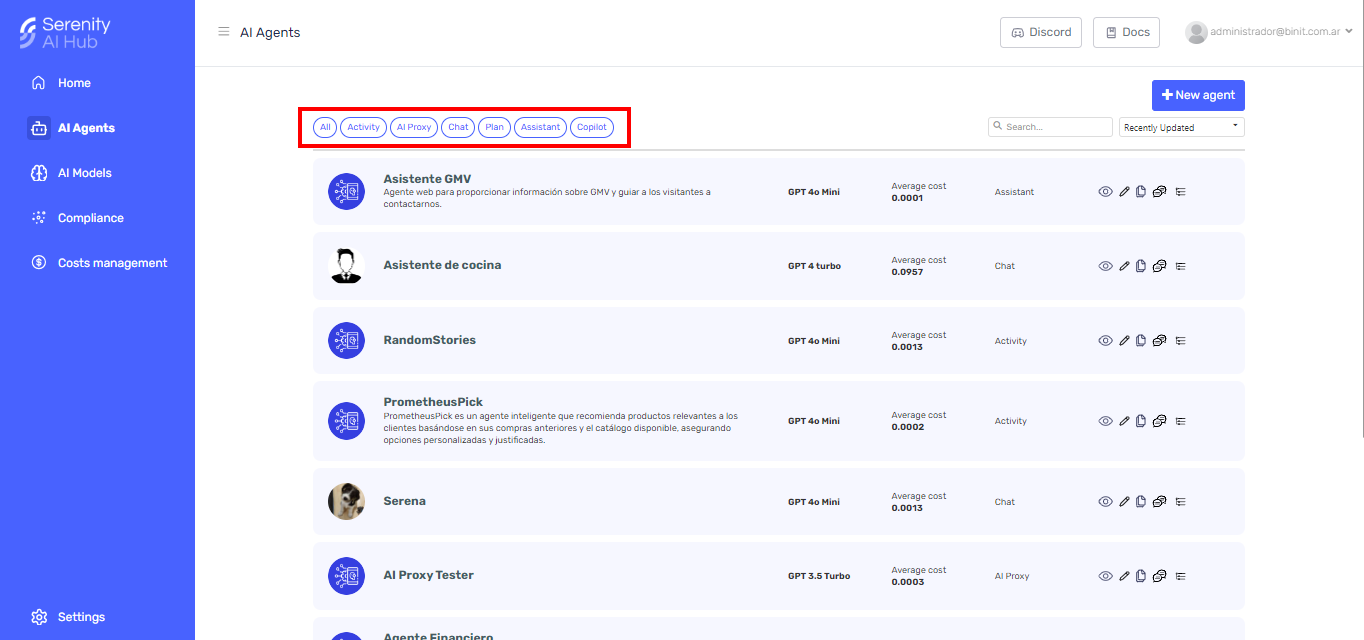
Once in the agent grid, we can filter by agent type to visualize our agents or click on "New Agent" to be redirected to the agent creator.
-
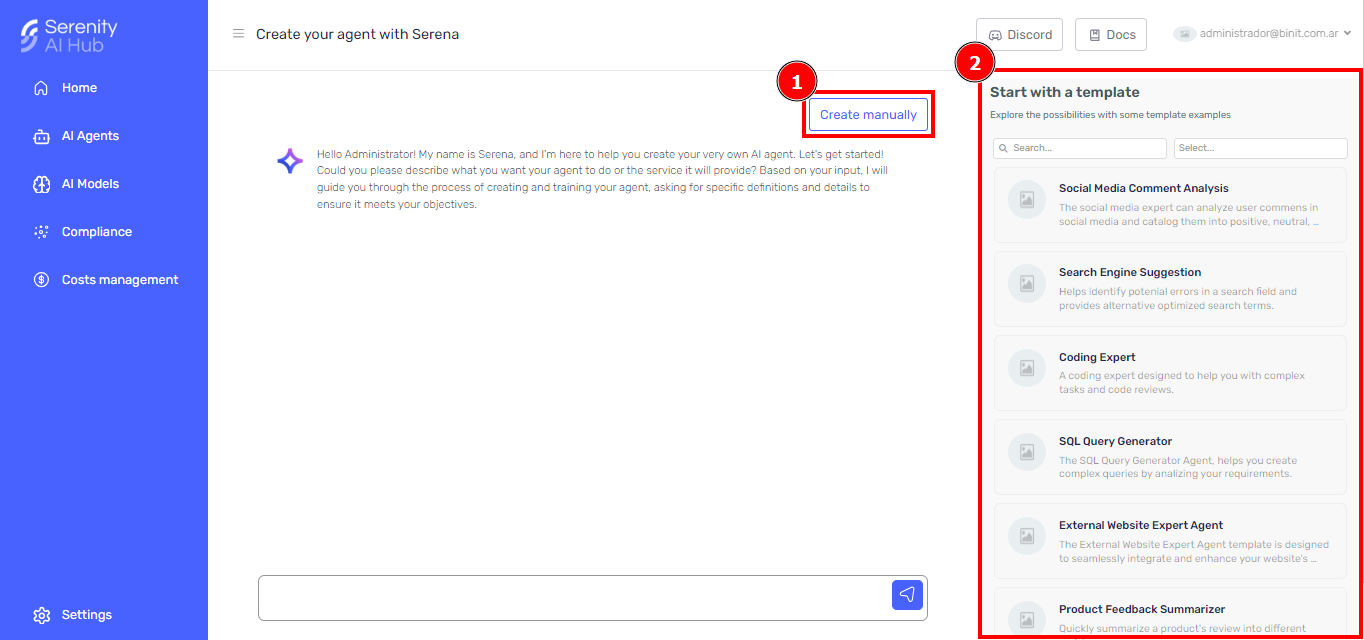
There are 2 ways to create an agent using the Agent Designer, manually or through Serena.
-
In case you want to create your agent manually, you can start from scratch by clicking on the "Create Manually" button (1), or you can start from a template instead (2). In this guide, we'll see how to create it manually from scratch.
-
Fill in all the required information and click on "Create" to finish.
Fill in the information
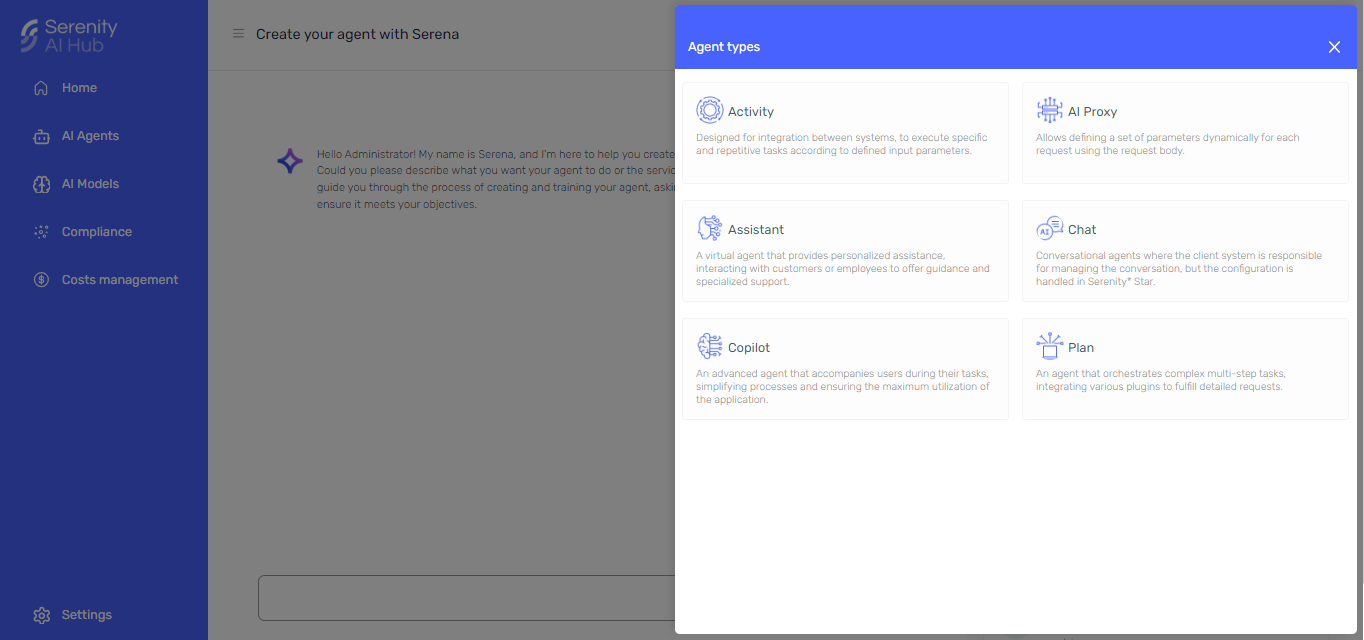
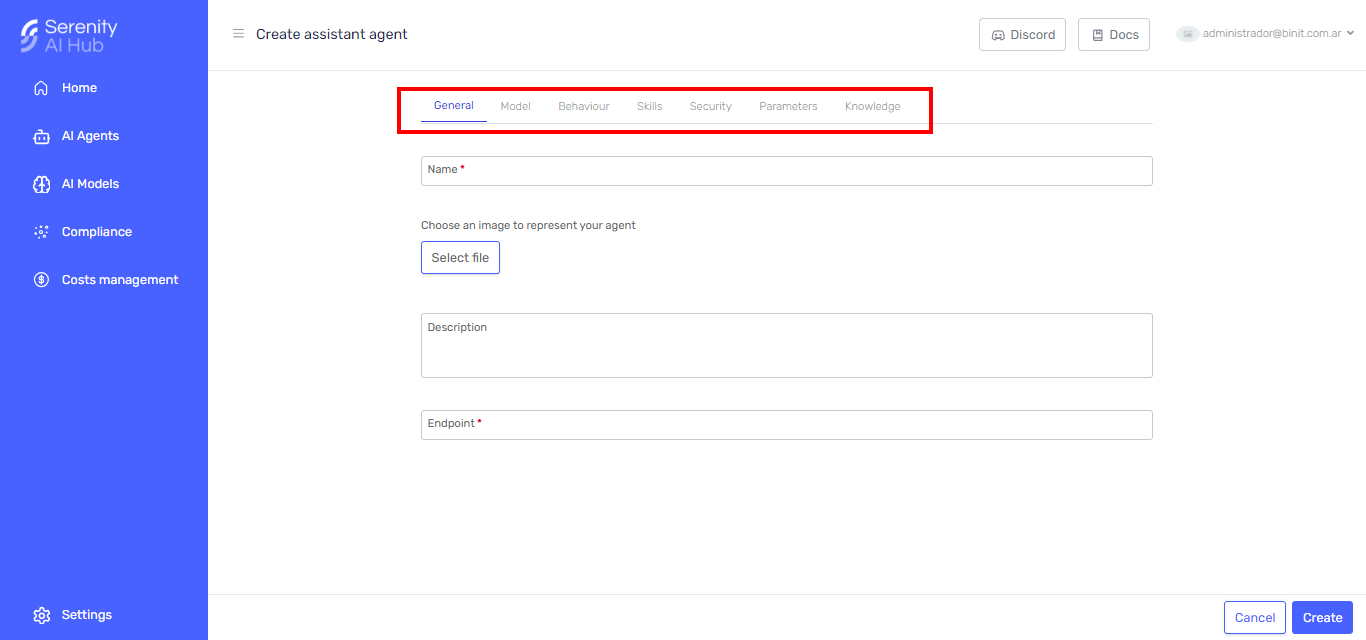
You need to provide the following information, which is divided into different tabs:
- General: Basic information about the agent.
- Model: Information about the model that will be used.
- Behaviour: Information about initial message and agent behaviour.
- Skills: Set of capabilities to complement your agent.
- Security: Metacontrol settings and allowed domains for the agent
- Parameters: Input parameters for the agent
- Knowledge: Upload files with knowledge for the agent.
General
- Avatar: You can upload an image to represent the agent.
- Name: The name of the agent.
- Description: A brief description of the agent.
- Endpoint: The endpoint where the agent will be available.
- Ask1: The definition of the agent.
- Output JSON format2: You can define the metacontrol settings for the agent. To learn more about metacontrol settings, check the Metacontrol Settings page.
- Mandatory user identification through the userIdentifier parameter3: Requires the user to send an identifier for the message.
- Mandatory grouping of instances through the groupIdentifier parameter3: Requires the user to send an identifier for a group of messages.
Model
- Plan type4: You can choose between "Stepwise", and "Handlebars".
- Stepwise: This type of planner has a unique approach to planning, which enables developers to execute step-by-step plans for achieving complex goals within their application.
- Handlebars: This type of planner uses the Handlebars syntax to generate a plan, allowing the model to leverage native features like loops and conditions without additional prompting.
- Selected model: The model that will be used by the agent. You can choose between the models available in the Serenity* AI Hub platform.
- Max Tokens: The maximum number of tokens that the model can generate.
- Temperature: The temperature of the model.
- Top P: Allows you to set a threshold for the probability of the model's output. Higher values will generate more diverse outputs, while lower values will generate more conservative or predictable outputs.
- Frequency Penalty: Frequency Penalty is between -2.0 and 2.0 and it impacts how the model penalizes new tokens based on their existing frequency in the text.
- Presence Penalty: Presence Penalty is between -2.0 and 2.0 and it impacts how the model penalizes new tokens based on their presence in the text so far.
- Logit BIAS5: Logit BIAS is between -100 and 100 and modify the likelihood of specified tokens appearing in the completion.
- Stop Sequences5: Sequences where the agent will stop generating further tokens.
Behaviour 6
- Initial Bot Message: The initial message that the agent will send to the user.
- Personality: The definition of the agent.
- Conversation starters: Agent suggestions for starting conversations.
Skills
You can define the skills to extend the capabilities of your agent to perform specific actions.
Security
- Metacontrol settings: You can define the metacontrol settings for the agent. To learn more about metacontrol settings, check the Metacontrol Settings page.
- Domains: You can define the domains that the agent will be able to interact with. If you don't define any domain, the agent will be able to interact with any domain.
Parameters
- Mandatory user identification through the userIdentifier parameter7: Requires the user to send an identifier for the message.
- Input parameters: You can define the input parameters to modify the system definition on the fly. To learn more about input parameters, check the Input Parameters page.
Knowledge
You can upload files with additional knowledge for the agent. The files must be in .pdf format.