How to incorporate chat in Wordpress

The Serenity Chat module allows you to quickly integrate your agents into your site.
This module is designed to be as simple as possible to integrate, and it provides a simple API to customize it to your needs.
This article will guide you through the process of adding the Serenity Chat module to a Wordpress site.
If you want to learn more about this module, checkout Serenity Chat module
Getting code snippets for my agent
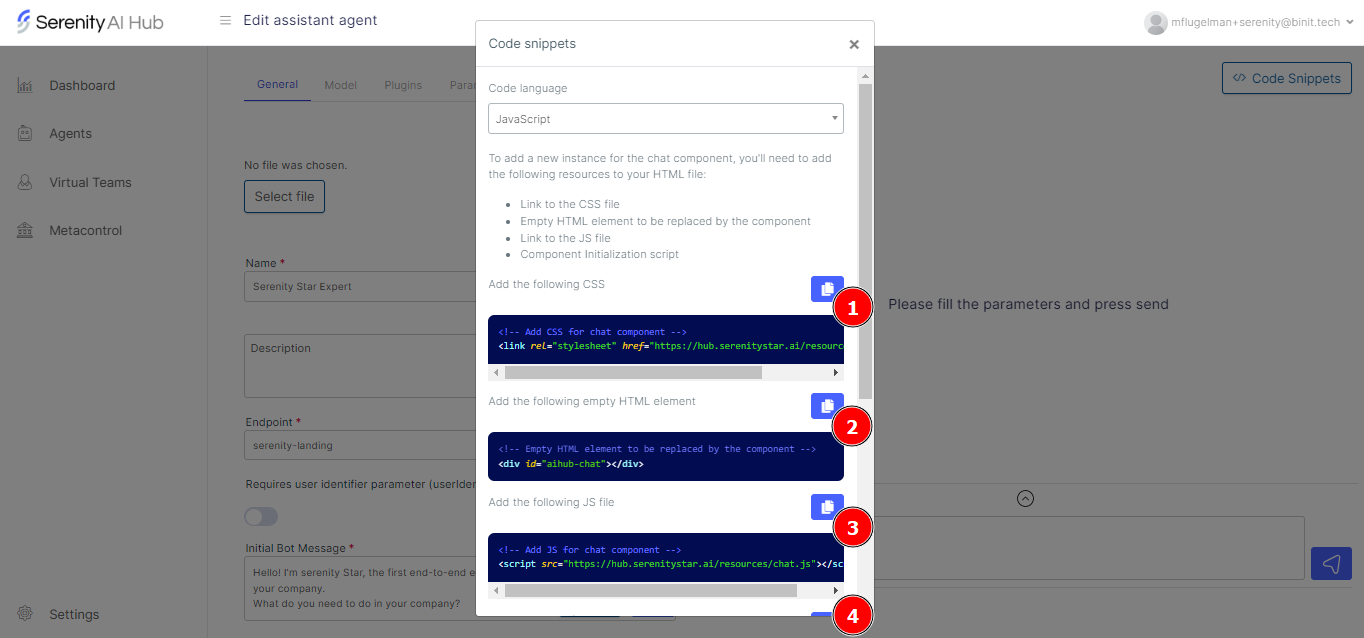
To add a new instance of the chat component, you'll need to add the following resources to your HTML file:
- Link to the Serenity Chat CSS & JS files
- Empty HTML element that will be replaced by the chat
- Component initialization script
-
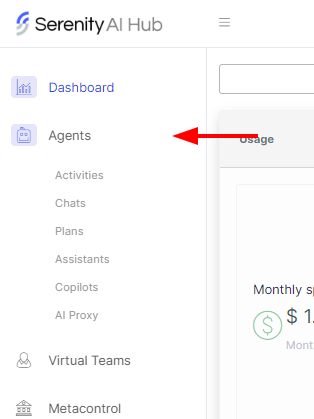
Go to Serenity* AI Hub and select the agent type you want to use.
-
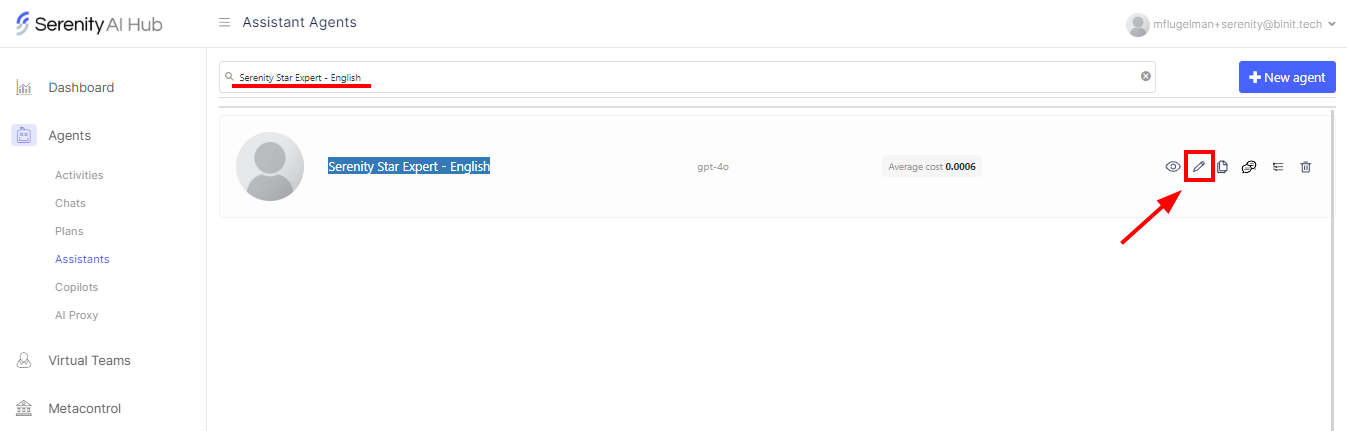
Inside the list of agents, filter by the name of the agent you want to use and press the edit button.
-
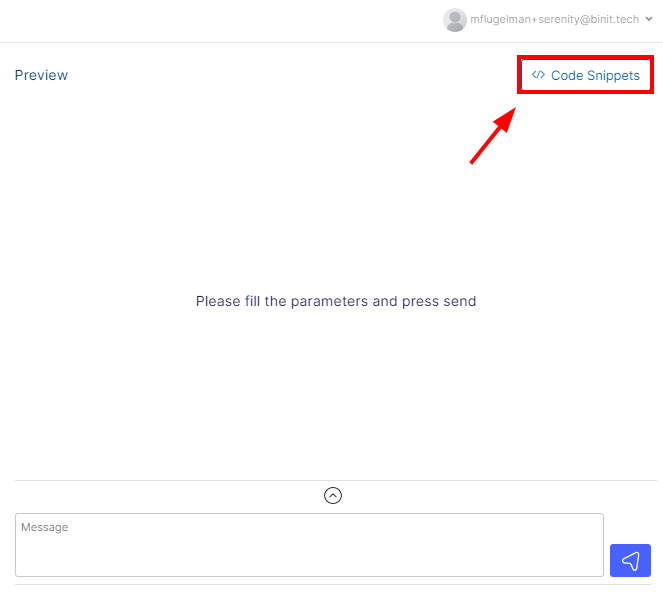
Once in the Agent Designer screen, click on the "Code Snippets" button in the top right corner.
-
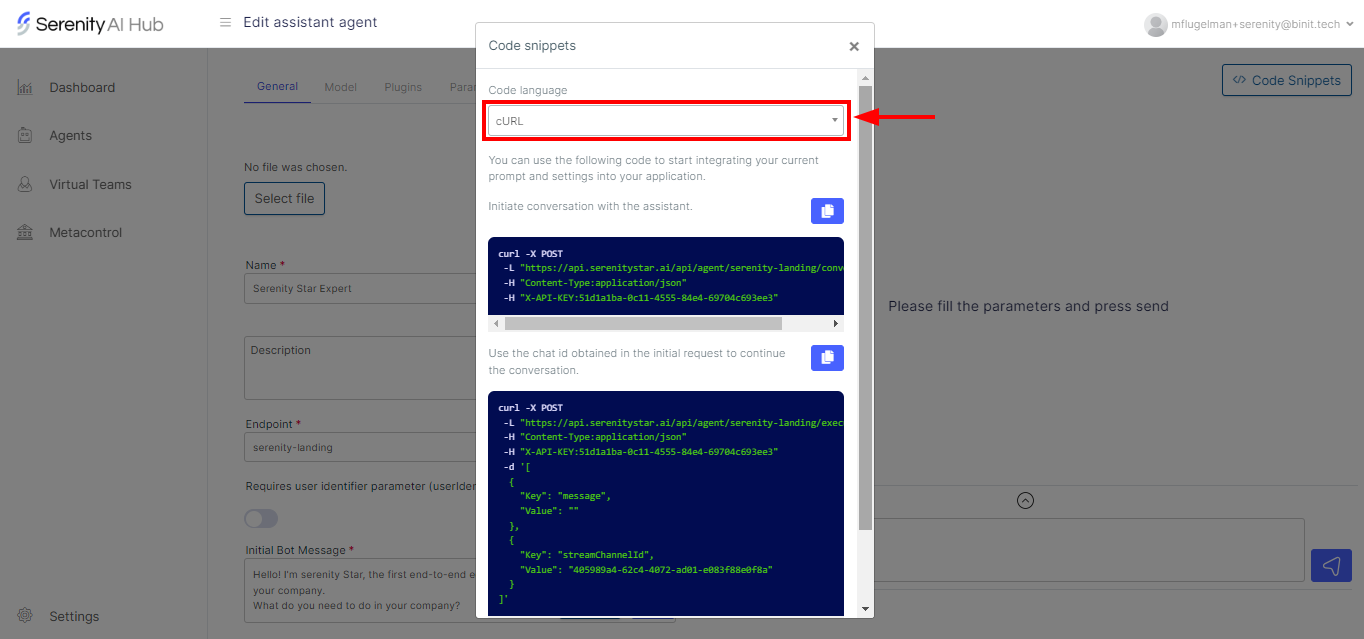
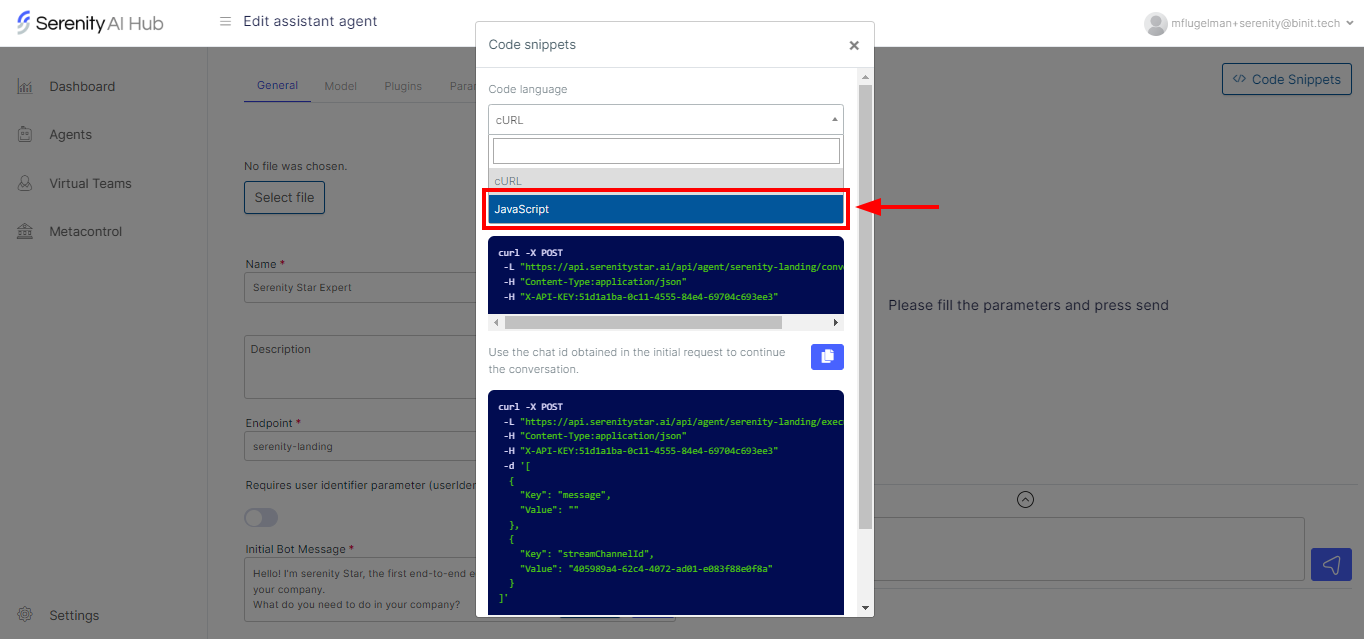
Once in the code snippets you will find a selector where you can choose between different options.
-
Select JavaScript code language.
-
Copy the fragments provided.
Installing the required Wordpress plugins
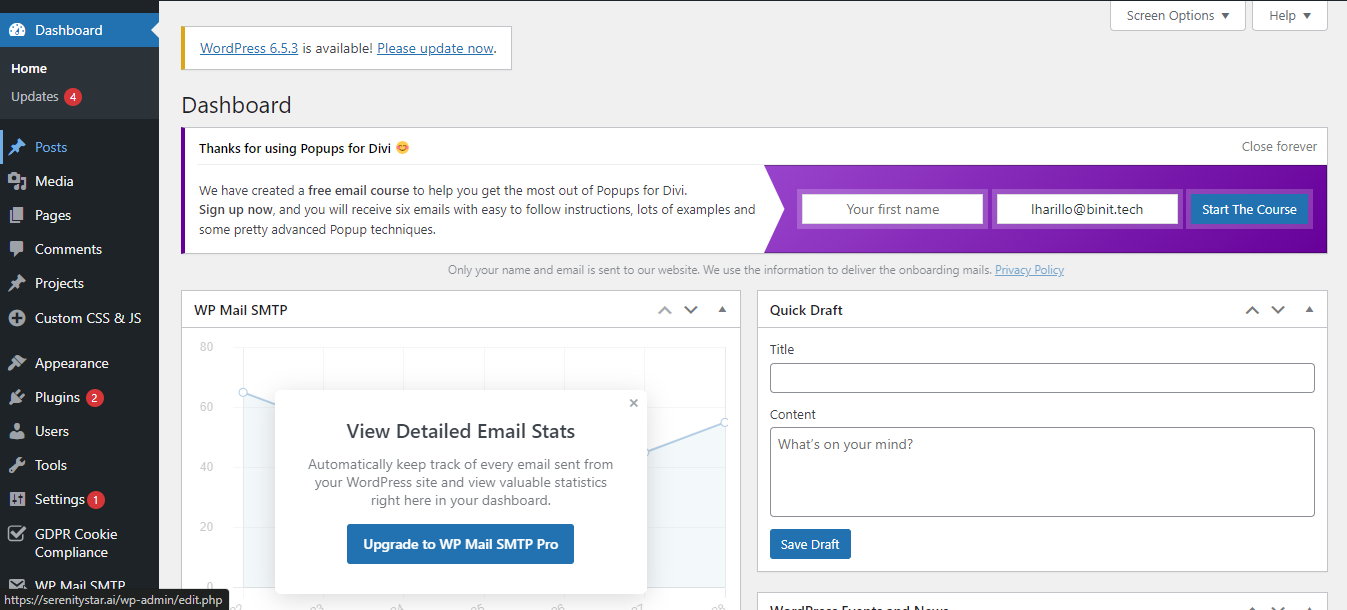
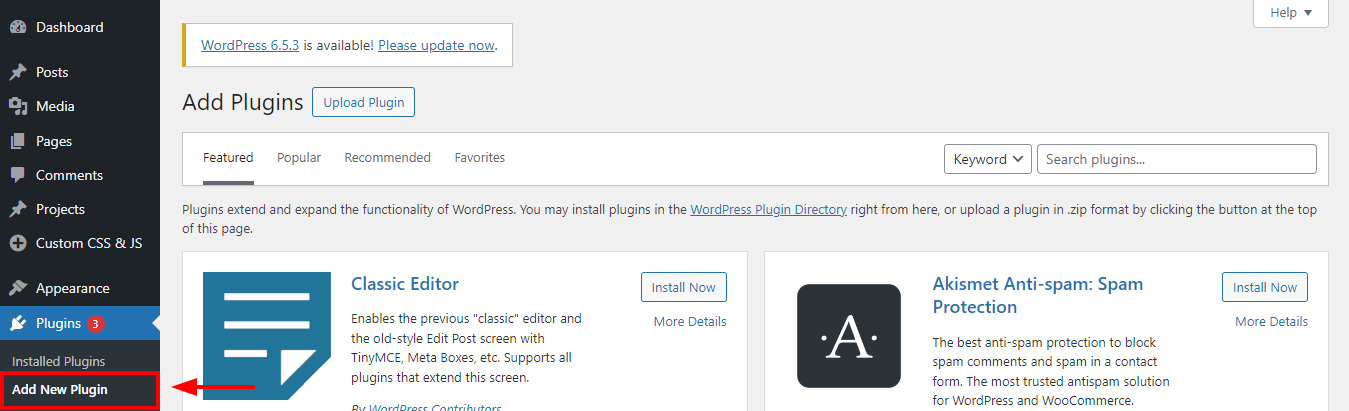
Once we got the code snippets, we'll need to visit our WordPress dashboard.
-
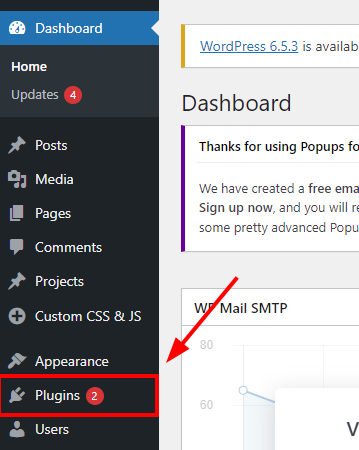
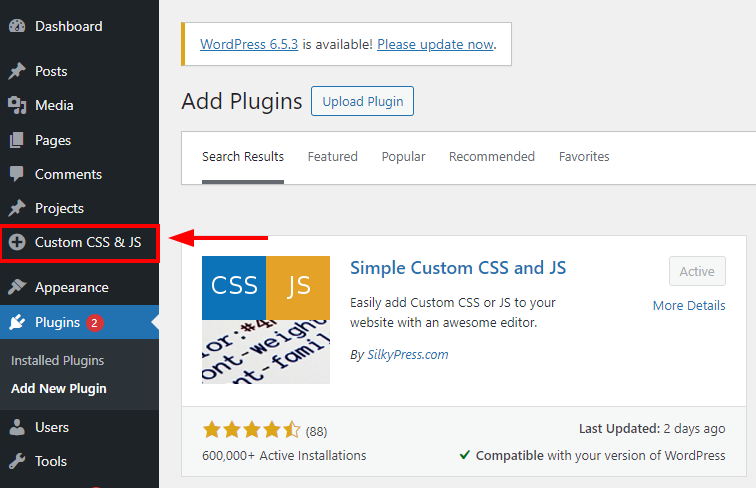
In the wordpress dashboard, we will go to plugins.
-
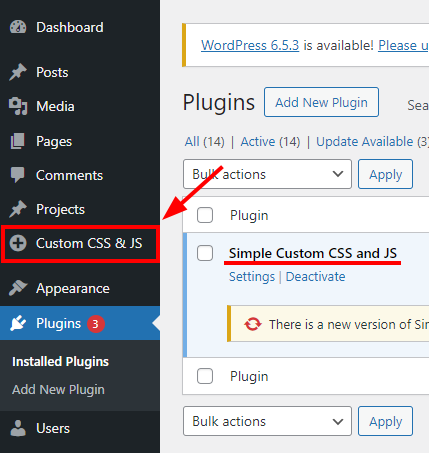
Before incorporating the chat, we must verify that we have installed the plugin "Simple Custom CSS and JS".
-
In case you do not have the plugin, click the "Add new plugin" button in the sidebar.
-
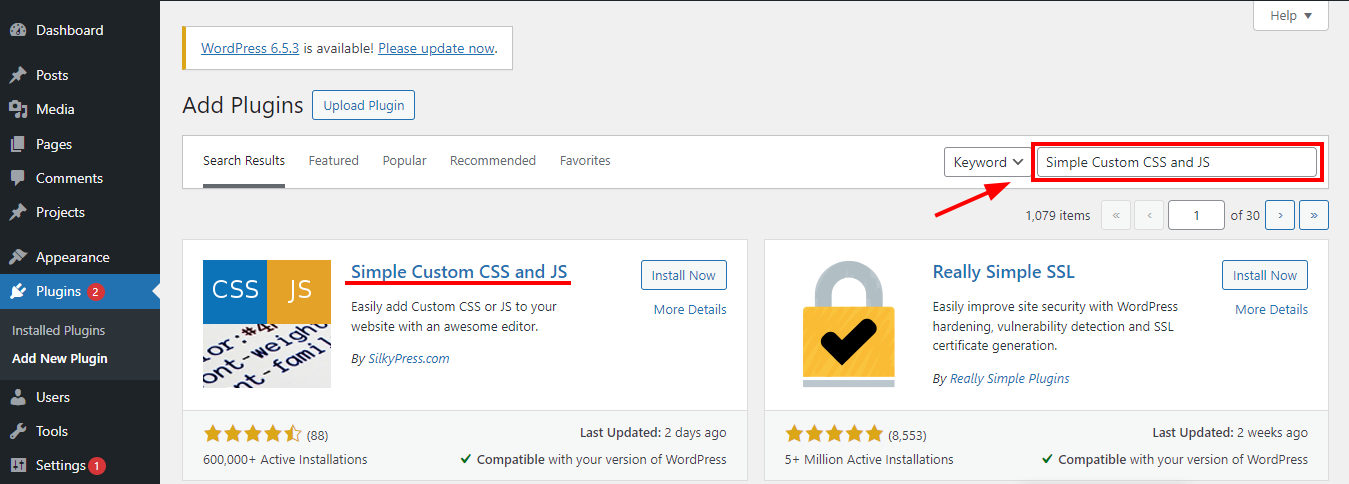
Type "Simple Custom CSS and JS" in the search box.
-
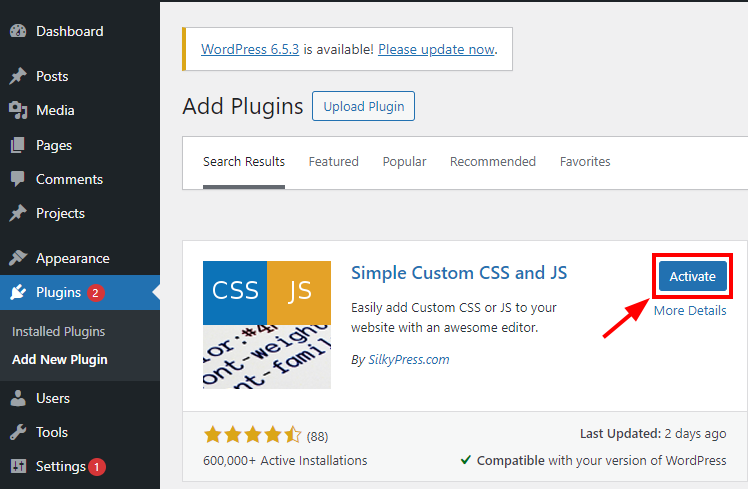
Press "Install Now" and then "Activate".
-
After activation the "Custom CSS & JS" option will appear in the sidebar.
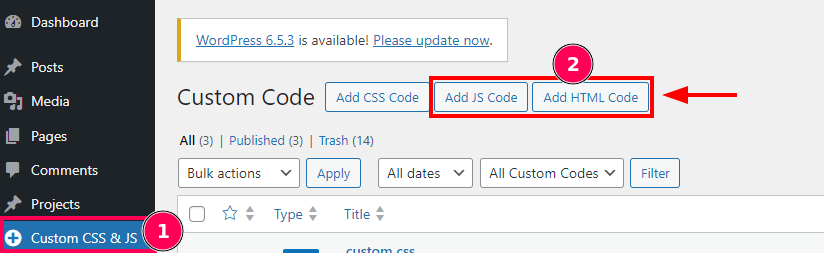
Adding code snippets to Wordpress
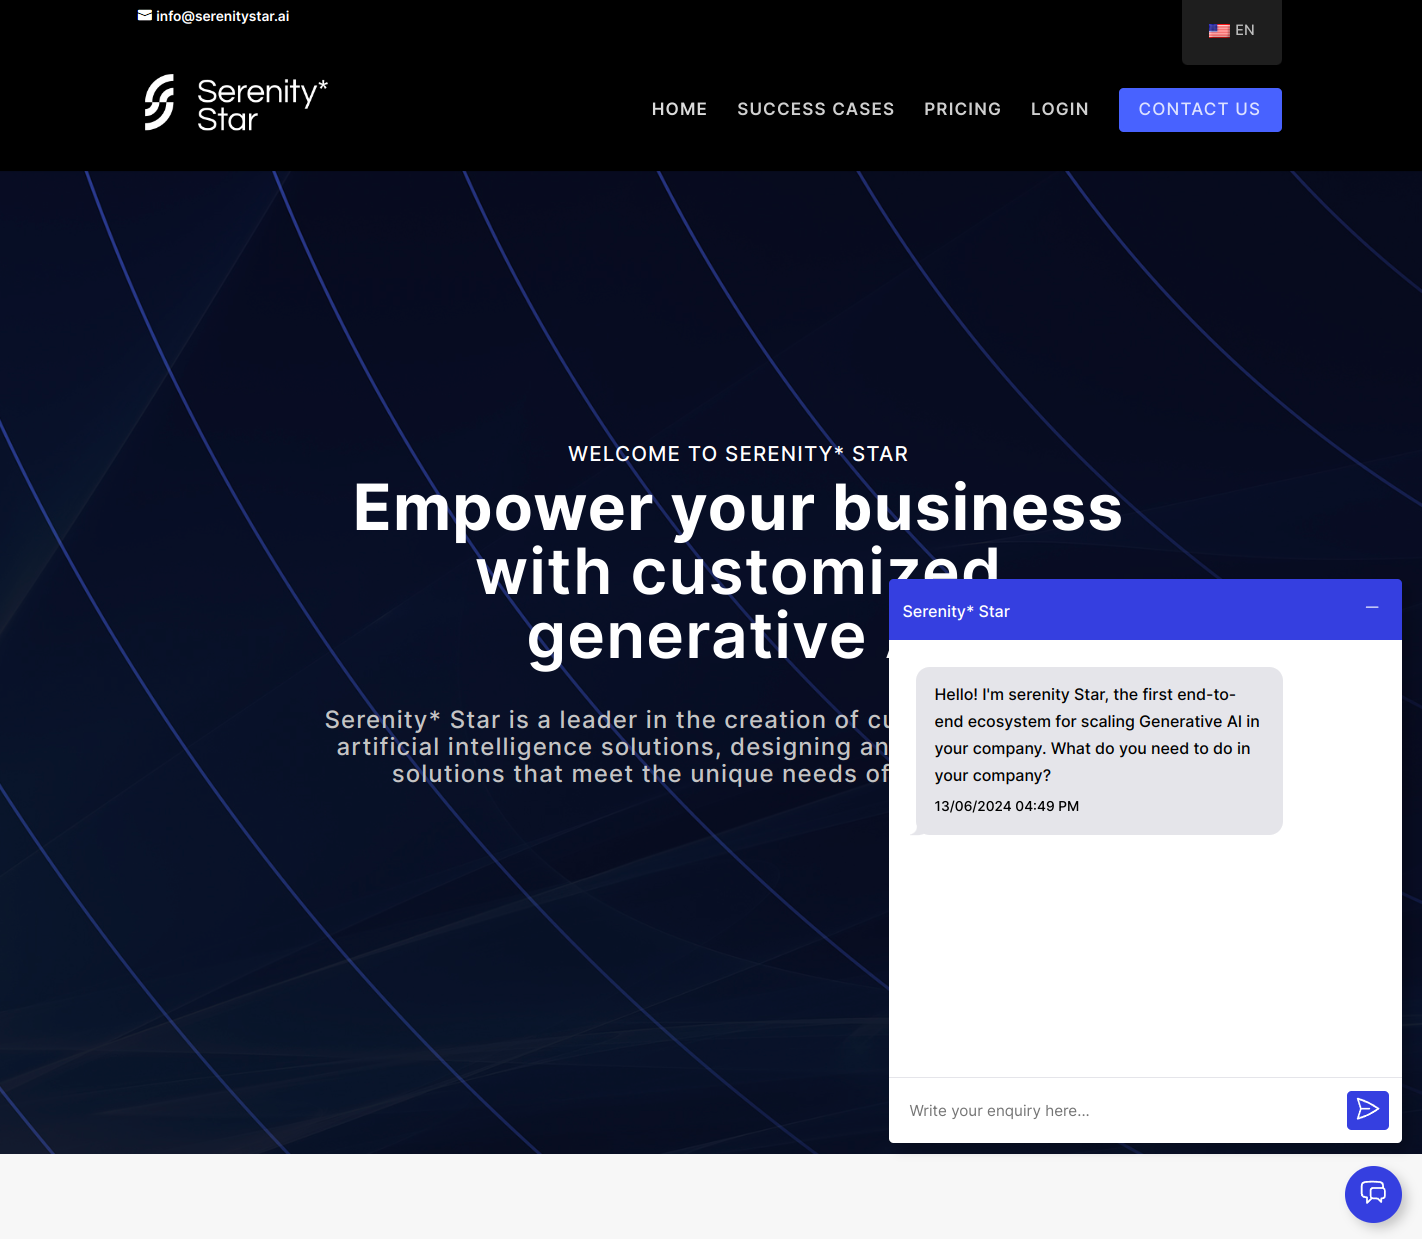
With the plugin activated, it's now time to add the code snippets for the chat component. Once we're done, the chat will be displayed in the bottom right corner of the screen.
To add the snippets we must go to the "Custom CSS & JS" option in the Wordpress sidebar, and then use the "Add HTML Code" and "Add JS Code" buttons.
Adding CSS & HTML snippets
-
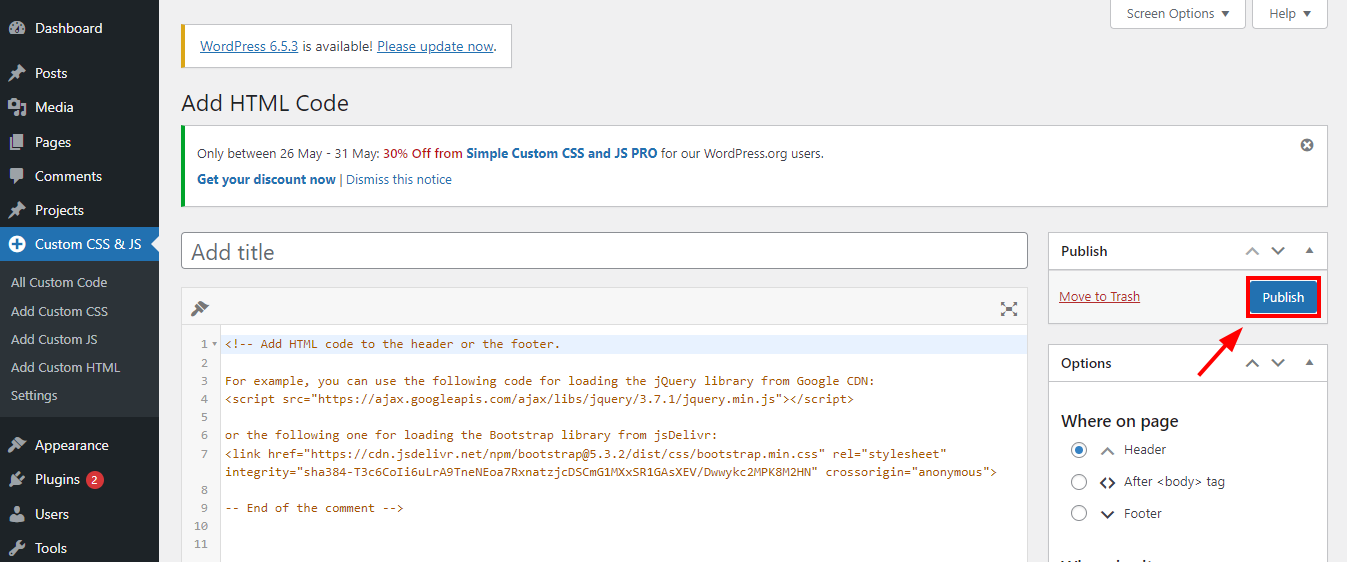
Go to "Custom CSS & JS", and then click on "Add HTML Code"
-
Give it a title and paste in the code box the snippets specified below
<!-- Empty div to replace with the chat -->
<div id="aihub-chat"></div>

<!-- Serenity Chat resources -->
<script src="https://hub.serenitystar.ai/resources/chat.js"></script>
<link
  rel="stylesheet"
  href="https://hub.serenitystar.ai/resources/chat.css"
/> -
Publish the code
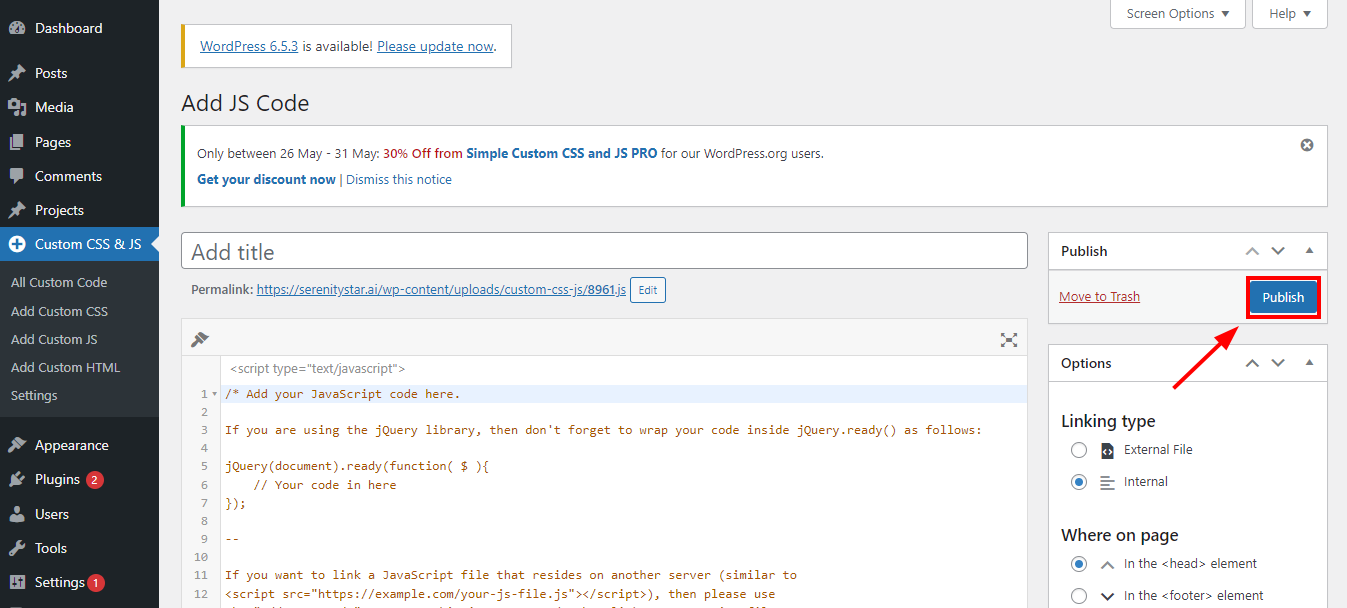
Adding the JS code
-
Go to "Custom CSS & JS", and then click on "Add JS Code".
-
Give it a title and paste in the code box the snippets specified below
document.addEventListener("DOMContentLoaded", function () {
  const chat = new AIHubChat("aihub-chat", {
     apiKey: "<Your API key>",
     agentCode: "<Your Agent Code>",
     baseURL: "https://api.serenitystar.ai/api",
  }
  chat.init();
); -
Publish the code
Once these changes have been made, the chat component should be displayed on the Wordpress site.
Conclusion
In this article, we've learned how to add the Serenity Chat module to a Wordpress site. This module allows you to quickly integrate your agents into your site, and it provides a simple API to customize it to your needs.
If you want to learn more about this module, checkout Serenity Chat module